Are you interested in setting up a photography studio at home but need help figuring out where to start? It doesn’t have to be overwhelming – with the right advice, you can get your home studio equipped and up and running quickly. In this blog post, we’ll explain some steps every aspiring photographer should consider when setting up their own homemade photo setup! We’ll cover equipment selection, cost considerations, lighting strategies, space design, and much more. So if you’re ready to start shooting great photos from the comfort of your own home, let’s begin exploring what it takes to create an amazing photography setup that works for your particular needs.
How to set up your home photography studio for optimal light and space
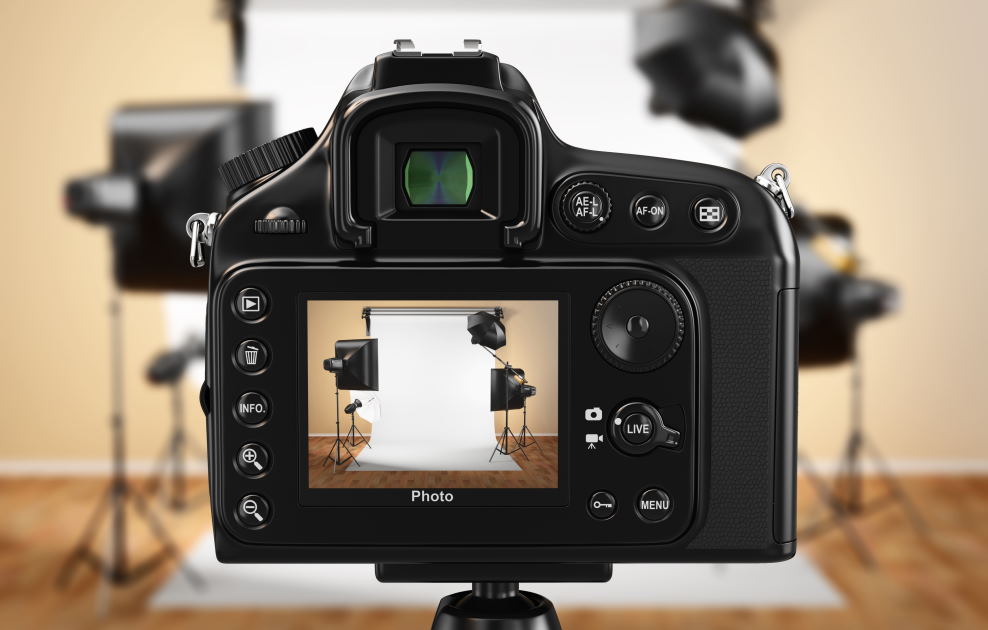
Once you’ve determined the type of photography you’re going to do, it’s time to set up your home photography studio. Your studio space plays an important role in creating great photographs – from how much natural light is available to the amount of room for props and equipment. Here are some tips for setting up a home photography studio for optimal light and space:
- Choose a Room with Natural Light – If possible, select a room with plenty of natural light from windows or skylights. The more natural light you have, the less artificial lighting you’ll need, making your photo sessions go smoother and faster. It’s not always possible to have a room with lots of natural light, so don’t be discouraged if that’s not an option.
- Use Reflectors – If you don’t have enough natural light, use reflectors to bounce the existing light around the room and onto your subject. Your camera will also be able to pick up more of the natural light in this way. You can buy specialized reflectors or use white foam boards or tinfoil-covered cardboard.
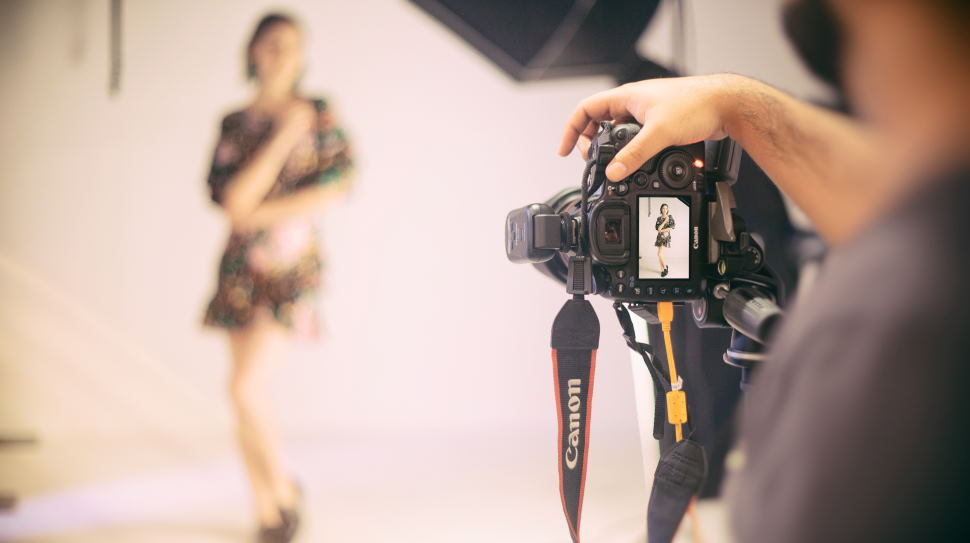
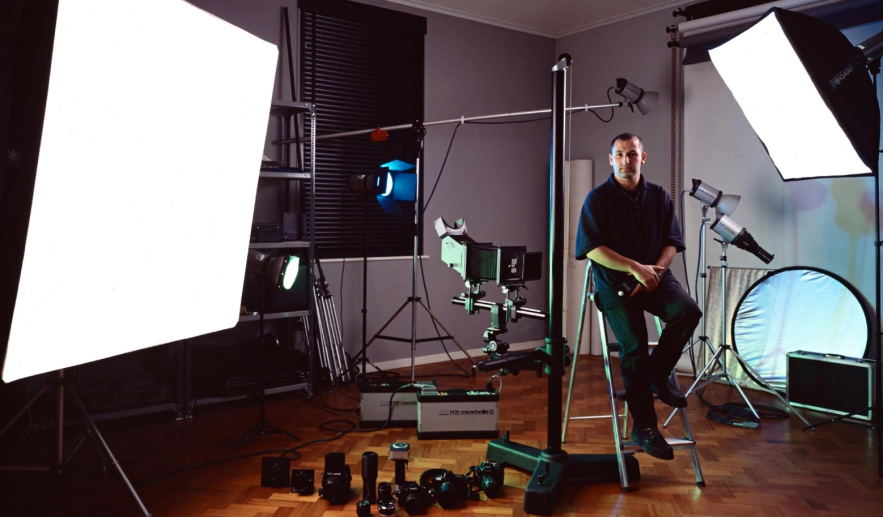
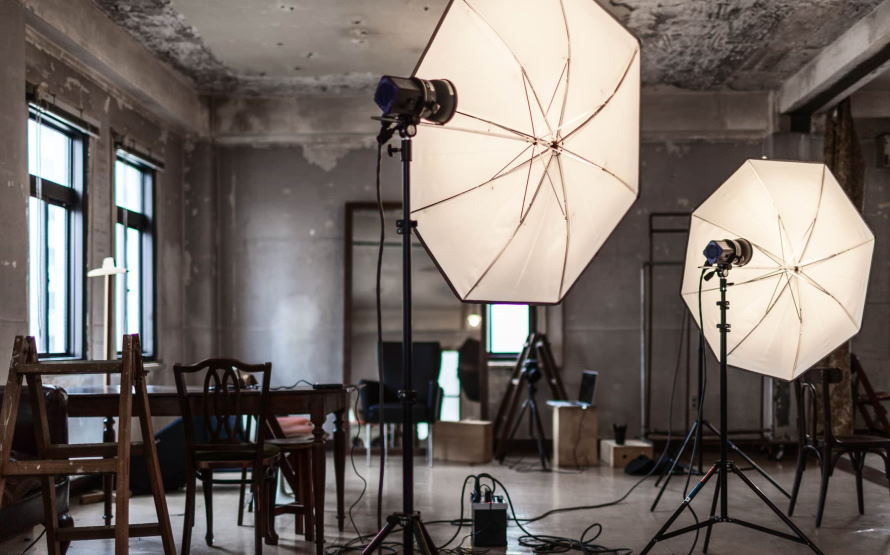
- Invest in Lighting Equipment – An off-camera flash or studio lighting set is a must if you don’t have enough natural light to work with. Many types of equipment are available at varying price points, so it pays to research and find out which type is right for your needs and budget.
- Use a Neutral Color Scheme – Too much color in your studio can distract the eye, so stick with neutrals such as whites, grays, and black. This will also help keep the focus on your subject instead of their surroundings.
- Keep Your Space Organized – A cluttered space can be difficult to work in, so keep everything organized and out of the way when not in use. Investing in shelves or storage bins can help keep your equipment tidy and accessible for quick setup.
By following these tips, you’ll have an efficient home photography studio that is well-equipped for capturing amazing photos!
Get the perfect photo every time with these home photography studio tips
Having a home photography studio can be invaluable when it comes to professional-looking photos. Whether you’re hoping to document special memories or create stunning product images, a dedicated space is essential for getting the perfect shot. With that said, here are some tips to help you create and maintain a top-notch photography studio right in your home:
- Invest in Quality Equipment – If you want pristine shots every time, then investing good money into the quality camera and lighting equipment is imperative. First, consider what kind of shots you most often take and buy accordingly — if you specialize in taking close-up photographs of products, invest in several macro lenses rather than one regular lens (and vice versa). Don’t skimp out on lighting; a good lighting setup is the key to capturing evenly-lit images.
- Make Use of Natural Light – While having proper lighting equipment is important, don’t forget about natural light — it can be just as effective! Position your props and subjects near windows for an illuminating look. If possible, try angling them so you get a bit of diffused morning or evening light shining in from the side rather than direct sunlight coming in straight through the window (which can cause harsh shadows).
- Utilize Backgrounds and Backdrops – Variety is key in photography, which is why having different backgrounds on hand can be beneficial. Not only does this allow you to change things quickly and easily, but it also gives your photographs a more professional look. Get creative with colored paper or fabric backdrops in different sizes — you can make them yourself!
- Use Reflectors to Bounce Light – If you don’t have a lot of natural light available, consider using reflectors to help bounce what little there is around the room. This will help spread the light across your subject evenly and lessen shadows.
- Experiment With Different Settings and Angles – Don’t forget to experiment with different settings and angles when taking photos. Not every shot should be taken from the same angle — try moving around and find interesting ways to capture your subjects that show off their unique features.
Having a home photography studio doesn’t have to be stressful — follow these tips, and you’ll be sure to get the perfect shot every time! You can easily create your own mini-studio at home with some quality equipment, a bit of natural light, the right background or backdrop, reflectors, and creative angles. Have fun with it, and let your creativity shine through in your photos!